


After complex repairs on Tesla vehicles, such as fender repairs or car paint services, a crucial step is receiving a software update from Tesla servers. This update recalibrates sensors and optimizes engine performance, ensuring the vehicle operates harmoniously post-repair. A full system reset is also essential for maintaining optimal performance after any repair, particularly following a collision or extensive bodywork. Tesla owners should follow specific steps to perform a software update and subsequent system reset, guaranteeing their vehicles remain safe, efficient, and deliver a seamless experience even after challenges.
In the world of Tesla ownership, understanding the brand’s unique software update process is crucial for maintaining optimal vehicle performance. When a repair is required, a specific sequence of actions must be followed to ensure a seamless and effective update. This article delves into the intricacies of Tesla’s software update procedure after repair, highlighting the significance of a full system reset for achieving peak vehicle functionality. By the end, readers will have a comprehensive guide to navigate this process with ease.
- Understanding Tesla's Software Update Process After Repair
- The Role of Full System Reset in Maintaining Vehicle Performance
- Step-by-Step Guide: Performing a Tesla Software Update Following Repair
Understanding Tesla's Software Update Process After Repair

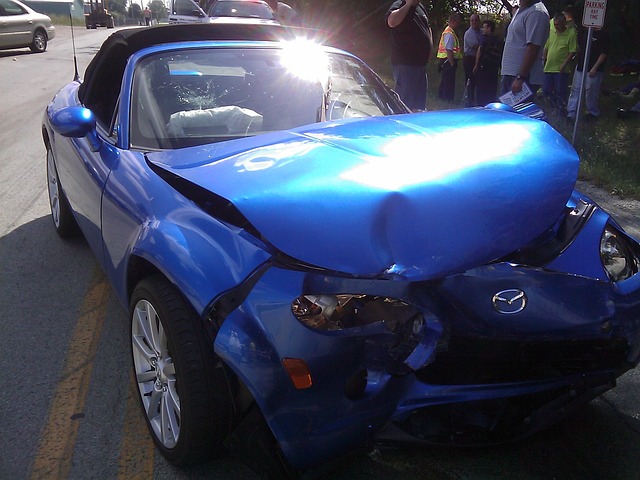
After a repair, especially complex ones like a fender repair or car paint services, Tesla owners often wonder about the software update process. It’s crucial to understand that Tesla vehicles are designed with an integrated software system that requires specific updates post-repair to ensure optimal performance and functionality.
Following any automotive repair, including those involving the vehicle’s body like a fender repair, it’s common practice for Tesla to release a software update. This update is not merely a cosmetic fix but a comprehensive reset that recalibrates sensors, optimizes engine performance, and ensures all systems are functioning in harmony. The process involves remote updates from Tesla’s servers, ensuring the vehicle is connected to the internet during the repair and after it’s been completed.
The Role of Full System Reset in Maintaining Vehicle Performance

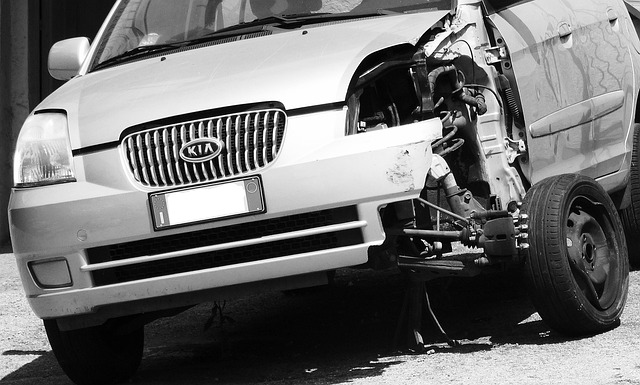
A full system reset is a crucial step in maintaining optimal vehicle performance after any repair, especially when it involves Tesla software updates. Following a car collision or extensive auto bodywork, the complex electrical systems within a vehicle can become disrupted, leading to potential issues with functionality and overall performance. A thorough reset not only corrects software glitches but also ensures that every component of the vehicle is operating in harmony.
This process is akin to a car restoration, where an auto collision center’s expertise is required to bring the vehicle back to its original state. By performing a full system reset post-repair, Tesla owners can ensure their vehicles are not only safe to drive but also deliver the seamless and efficient performance that these advanced electric cars are known for. It’s a key step in keeping your Tesla running like new, even after encountering challenges or undergoing repairs.
Step-by-Step Guide: Performing a Tesla Software Update Following Repair

Performing a Tesla software update after a repair is an essential step to ensure your vehicle’s systems are aligned and optimized. Here’s a step-by-step guide for owners navigating this process:
1. Prepare Your Tesla: Before initiating the update, ensure your car is connected to a stable power source and has at least 50% battery charge. This guarantees a smooth and uninterrupted update process.
2. Open the Tesla Mobile App: On your smartphone, launch the official Tesla app. Here, you’ll find the option to check for updates. Tap on “Update Software” or a similar prompt within the app’s interface.
3. Initiate the Update: Follow the prompts to begin downloading and installing the latest software package. This process involves verifying your vehicle’s connection, accepting terms and conditions, and allowing the update to install.
4. Wait for Completion: Depending on your car’s model and the update size, this step may take several minutes. Avoid disrupting the update process by turning off your Tesla or disconnecting it from power until it is fully updated.
5. Post-Update Reset: Once the update is complete, your Tesla might automatically reset its systems. This includes features like navigation, media settings, and vehicle preferences. If not, manually restart your car to ensure a full system reset after repair.
After any repair work on your Tesla, performing a software update is a crucial step to ensure optimal vehicle performance. This process involves a full system reset, which not only enhances overall efficiency but also ensures that all systems are running harmoniously. By following the outlined steps in this guide, you can efficiently perform a Tesla software update after repair, ultimately improving your driving experience and maintaining the vehicle’s advanced capabilities.